


How to plant bulbs in large pots: Your complete guide to spring container displays
As autumn settles in, it’s the perfect time to start planning your spring container displays. Planting bulbs in large pots transforms patios, doorways, and terraces into seasonal showcases — bringing months of colour exactly where you want it, with complete control over soil, drainage, and design.
The key to beautiful spring pots lies in the right balance of planting depth, quality bulbs, and generous containers. Large frostproof planters provide the space and protection bulbs need to root deeply, rest well through winter, and bloom beautifully from February to May.
Why Plant Bulbs in Pots Instead of Borders
Container planting offers advantages that traditional border planting simply can’t match — particularly when you choose generous sized planters designed for layering bulbs in depth.
1. Control Over Growing Conditions
Large pots give you full control over soil quality and drainage. Unlike garden borders, where clay-heavy soil can cause bulb rot, a generously sized planter filled with free-draining compost creates the perfect environment for healthy root development. You can tailor the mix to suit your bulbs — adding grit for drainage or adjusting pH as needed.
2. Flexibility and Impact
Pots bring spring colour exactly where you need it most. Frame entrances with matching planters, cluster varying heights on the patio, or position statement pots beside outdoor seating. When blooms fade, simply refresh the planting.
3. Protection from Pests and Disease
Planting in raised containers naturally deters slugs, mice, and voles, while the controlled environment reduces the risk of tulip fire — a fungal disease that thrives in damp, congested soil. Planting in autumn allows bulbs to root strongly before the cold sets in, helping prevent infection.
4. Depth for Layering
Here’s where pot size becomes essential. Large pots (50–70 cm diameter and 40 cm+ deep) provide the space needed for the “lasagne” layering method — stacking bulbs at different depths so they flower in sequence. Shallow pots limit you to single-layer plantings with shorter flowering windows.

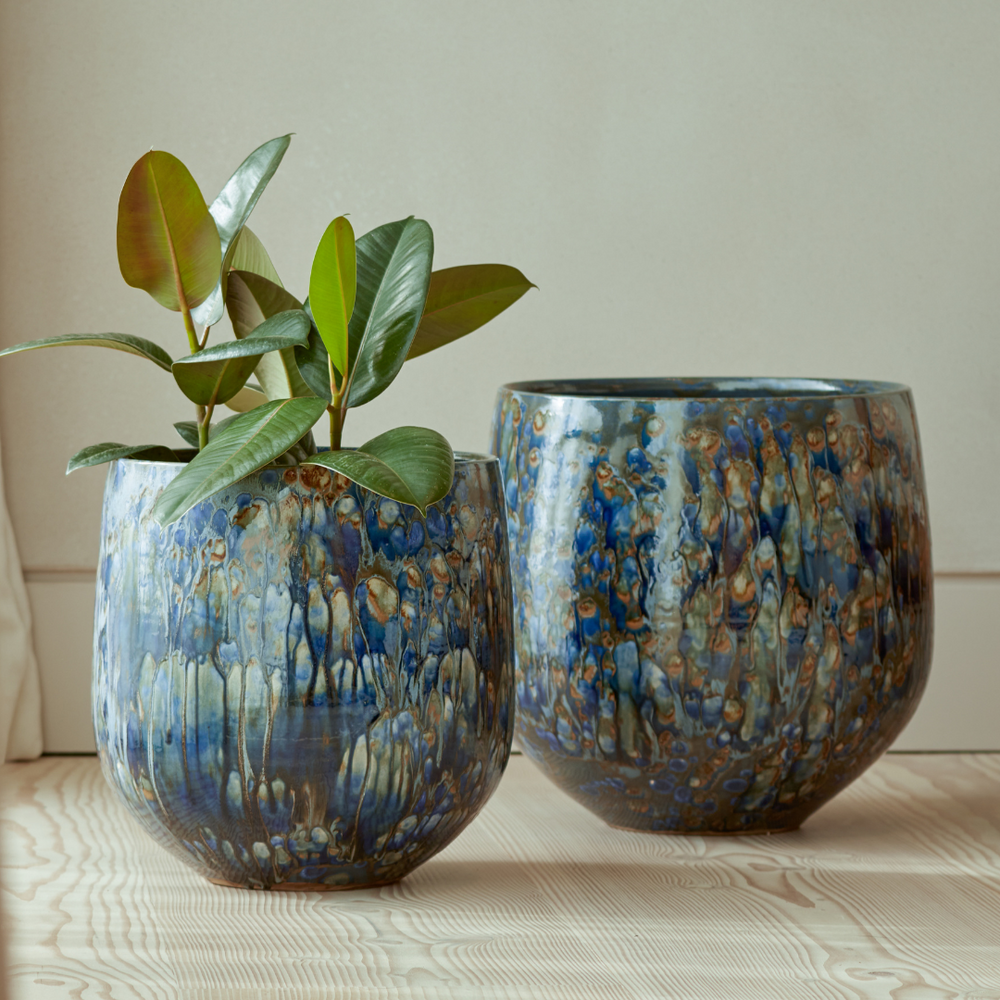
Choosing the Right Pots for Bulb Planting
Size Matters: Go Large
For successful bulb layering, choose pots that are:
-
50–70 cm diameter minimum
-
40–50 cm deep for multi-layer planting
-
With a wide, stable base to prevent toppling in wind
Smaller pots dry out quickly, restrict root growth, and shorten the flowering season.
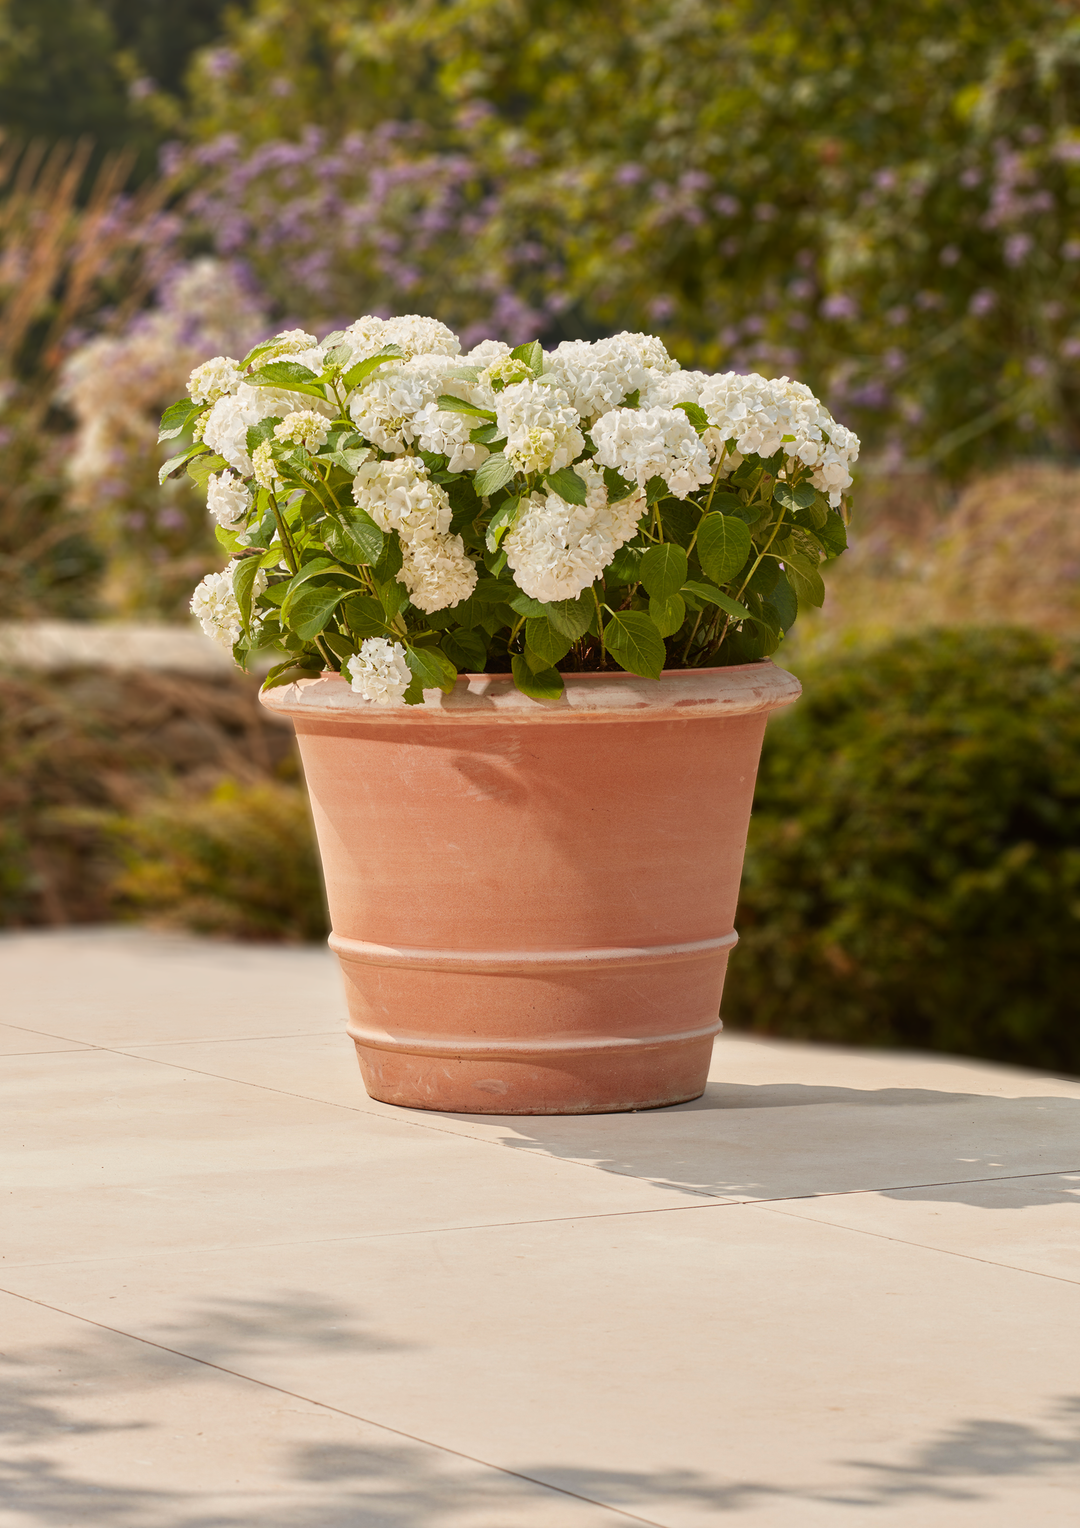
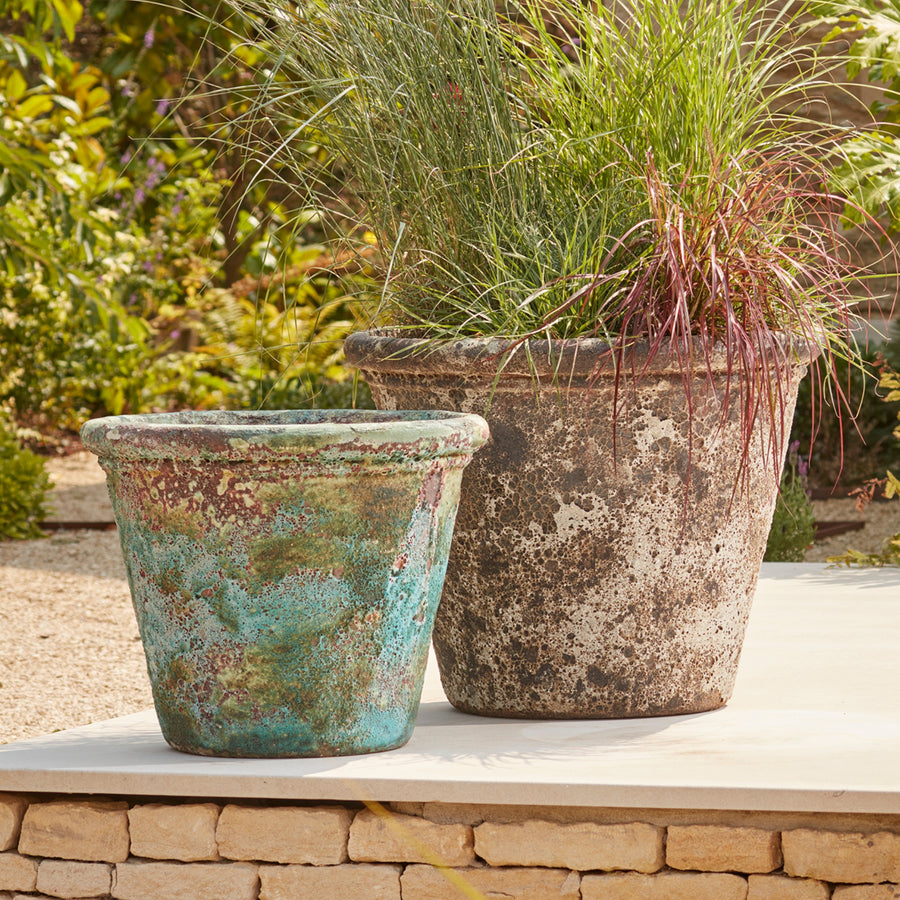
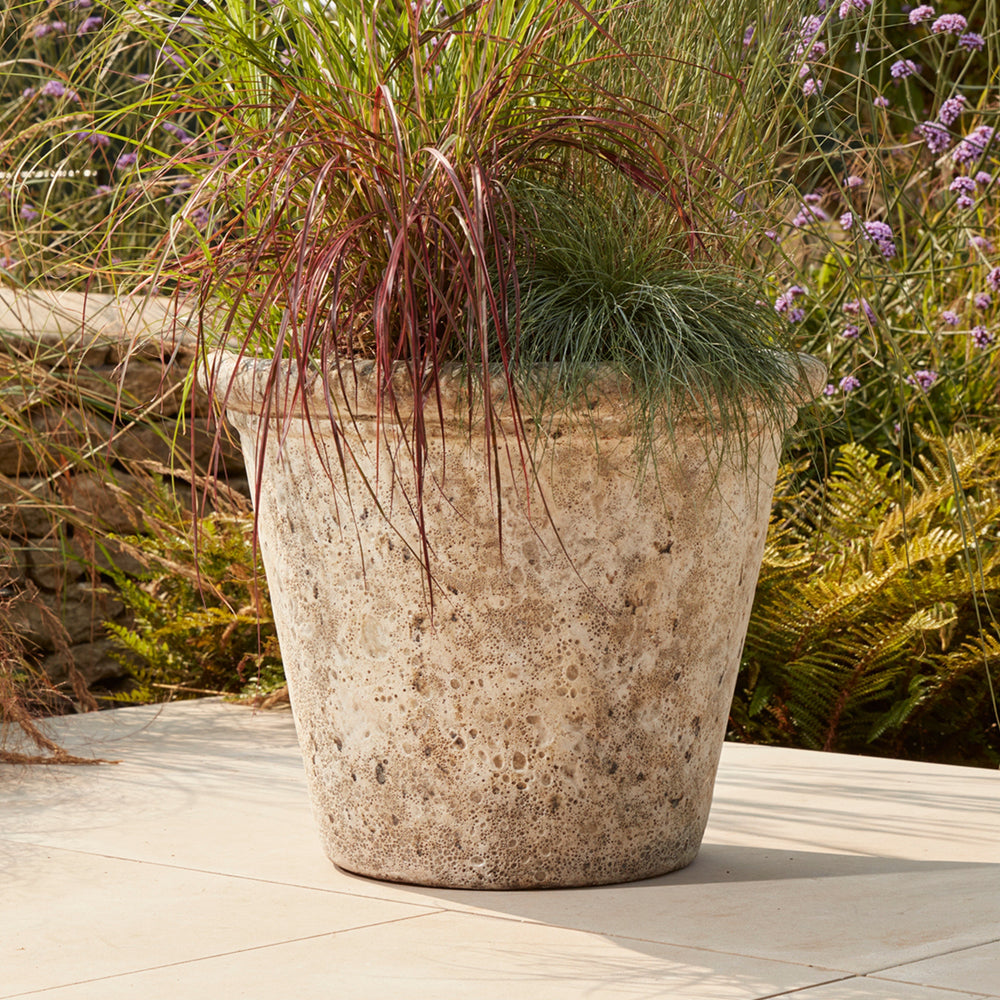
The Benefits of Terracotta
Large terracotta pots and our ancient stone effect planters are the gold standard for bulb planting:
-
Naturally breathable: porous clay prevents waterlogging.
-
Temperature regulating: insulates against frost and heat.
-
Weighted and stable: keeps tall tulips and alliums upright.
-
Frostproof durability: high-fired clay withstands freeze–thaw cycles.
-
Timeless look: ages beautifully, developing a natural patina over time.
Good Drainage Is Essential
Check for generous drainage holes and raise pots on pot feet to keep water flowing freely — a small but vital step that prevents bulbs from sitting in standing water. All Gardenesque outdoor pots are thoughtfully designed with drainage holes to help your bulbs and other planting thrive through every season.
How to Plant Bulbs in Large Pots (Lasagne Layering Method)
The layering technique — the secret to months of continuous colour from a single container. Deeper bulbs bloom later, while those near the surface flower first, creating a natural succession from February to May.
When layering bulbs in large pots, depth determines both rooting strength and flowering order. As a rule of thumb, each bulb should be planted at a depth roughly three times its own height — deep enough for stability, but shallow enough for the shoot to break through easily. The deeper the bulb, the later it will bloom.
Recommended layers:
-
Base layer (15–20 cm deep): Tulips and alliums — these larger bulbs need the greatest depth for strong root systems and protection from winter cold.
-
Middle layer (10–15 cm deep): Jonquilla narcissus and hyacinths — mid-sized bulbs that benefit from moderate insulation and bloom in early to mid-spring.
-
Top layer (5–10 cm deep): Crocus, Iris reticulata, and dwarf narcissus — shallow-rooted, early-flowering bulbs that respond quickly to the first signs of warmth.
By planting in layers, you’ll create a natural succession — the top layer brightening late winter, the middle carrying colour through early spring, and the base reaching its peak as tulips and alliums take centre stage in late April and May.
Spacing bulbs in pots
When planting bulbs in pots, aim to space them one bulb-width apart — close enough for a full, abundant display, but not so tight that they compete for nutrients or risk rot. In larger containers, bulbs can even be placed slightly closer than in borders because the free-draining compost and controlled environment reduce the risk of overcrowding.
As a general guide:
-
Small bulbs (crocus, iris reticulata): 2–3 cm apart
-
Medium bulbs (narcissus, hyacinth): 5–8 cm apart
-
Large bulbs (tulips, alliums): 8–10 cm apart
When layering, stagger bulbs across each tier so they’re not sitting directly above one another — this allows each to send up shoots freely and makes the pot look naturally full when in bloom.
Step-by-Step
-
Choose a pot: frostproof, 50 cm+ wide, with drainage holes.
-
Add drainage: 5 cm of gravel or crocks at the base.
-
Fill compost: peat-free loam-based compost with grit (3:1 ratio).
-
Layer bulbs: deepest bulbs first, cover with compost, repeat.
-
Water thoroughly: to settle compost, ensuring free drainage.
-
Finish surface: moss or fine gravel helps retain moisture and polish the look.
We like to finish pots with a light layer of moss. It softens the surface, helps retain moisture, and gives that quietly polished, ‘ready for spring’ look.

Choosing the Best Bulbs for Large Pots
When planting bulbs in pots, variety and proportion are key. Choose bulbs that suit container life — compact forms with strong stems and tidy foliage — and combine early, mid, and late-season bloomers for a natural progression of colour. Look for reliable performers that don’t outgrow their space, and favour varieties that offer both texture and tone for layered planting.
Tip: Smaller, multi-flowered types such as jonquilla narcissus are ideal for pots — their neat foliage and clustered blooms stay elegant as they fade.
Best bulbs for large pots
-
Tulips: ‘Mount Tacoma’, ‘Green Wave’, ‘Negrita’ — elegant shapes and rich tones that carry the display through late spring.
-
Narcissus: ‘Sailboat’, ‘Pipit’, ‘Baby Boomer’ — compact jonquilla types with graceful form and soft fragrance.
-
Iris reticulata: ‘Harmony’, ‘Katharine Hodgkin’ — early colour in shades of blue and lilac that lift the last of winter.
-
Crocus: ‘Pickwick’, ‘Jeanne d’Arc’ — delicate, low-growing varieties that create a tapestry of early spring colour.
-
Alliums: ‘Purple Sensation’ — tall, architectural stems that bring structure and contrast to late-spring pots.
-
Hyacinths: ‘Blue Jacket’, ‘Carnegie’ — beautifully scented and compact, perfect for mid-spring layers.
Avoid over-tall tulips or large trumpet daffodils that produce sprawling foliage — smaller or jonquilla varieties remain neat and balanced as they die back, keeping your pots looking refined well into early summer.
How to Care for Bulbs in Pots Through Winter
After planting, water thoroughly to settle compost, then let the rain do the rest. Overwatering can cause rot — the soil should stay lightly moist, never waterlogged.
Position pots in a sheltered spot or beneath a tree, and raise them on pot feet for airflow.
During severe cold (below –5 °C), wrap pots loosely in fleece or move them closer to the house. While frostproof terracotta withstands freeze–thaw cycles, this extra step helps protect bulbs near the surface from deep frost and wind chill.
-
Prevents the top few centimetres of compost from freezing solid
-
Protects shallow-planted bulbs (like crocus or iris) from frost heave
-
Reduces cold wind exposure that can desiccate shoots as they emerge
How to Care for Bulbs in Pots Through Spring
As shoots appear, water more frequently — keeping compost evenly moist. Feed fortnightly with a balanced liquid fertiliser to replenish nutrients.
Deadhead spent flowers to redirect energy to the bulb, and allow foliage to yellow naturally before tidying. Underplant with moss or ivy to disguise fading leaves and keep pots looking fresh. The cut flowers also look wonderful in a vase on your garden table.

After Flowering: What Next?
If you’re using large pots (50 cm and above), you can often leave bulbs in place and plant shallow-rooted summer flowers or foliage above them once the leaves have died back. Compact annuals like viola, lobelia, calibrachoa or low ferns sit happily over resting bulbs, adding colour while the bulbs remain dormant beneath the surface.
For smaller pots, or where tulips and hyacinths are planted densely, it’s best to lift the bulbs once the foliage has fully died back. Clean and dry them, then store somewhere cool and dark until autumn replanting. This also gives you a fresh start for summer planting.
If you prefer a simple refresh, replace the top few centimetres of compost and leave bulbs in place for a more natural cycle — especially reliable with narcissus, crocus, and alliums, which return strongly year after year.
After Flowering: What Next?
-
Leave bulbs in place: top up compost and allow them to rest in the pot. Ideal for daffodils, crocus, and alliums that perennialism well.
-
Lift and store: once foliage has yellowed, dry bulbs thoroughly and store in a cool, dark place until replanting in autumn.
-
Replace annually: treat tulips and hyacinths as annuals for the best display — replant fresh bulbs each year for strong, consistent colour.
-
Refresh for summer: in large pots, layer in shallow-rooted summer plants above dormant bulbs, or add moss and trailing greenery to keep pots decorative year-round.
Design Ideas for Statement Spring Pots
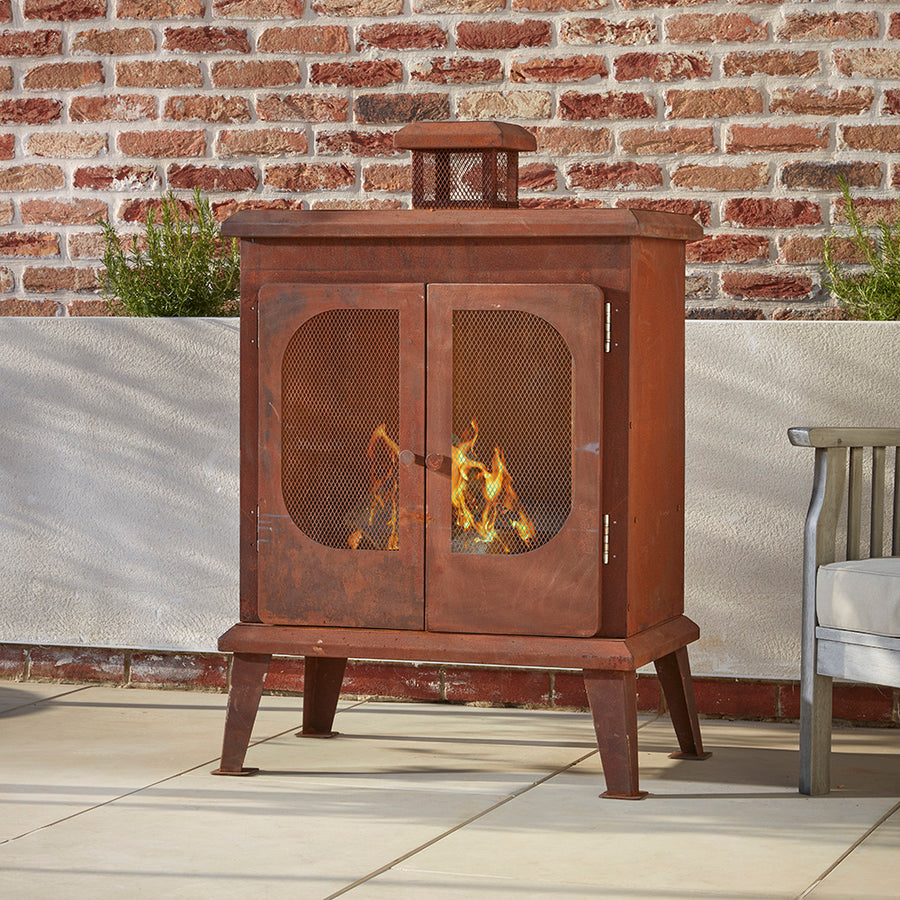
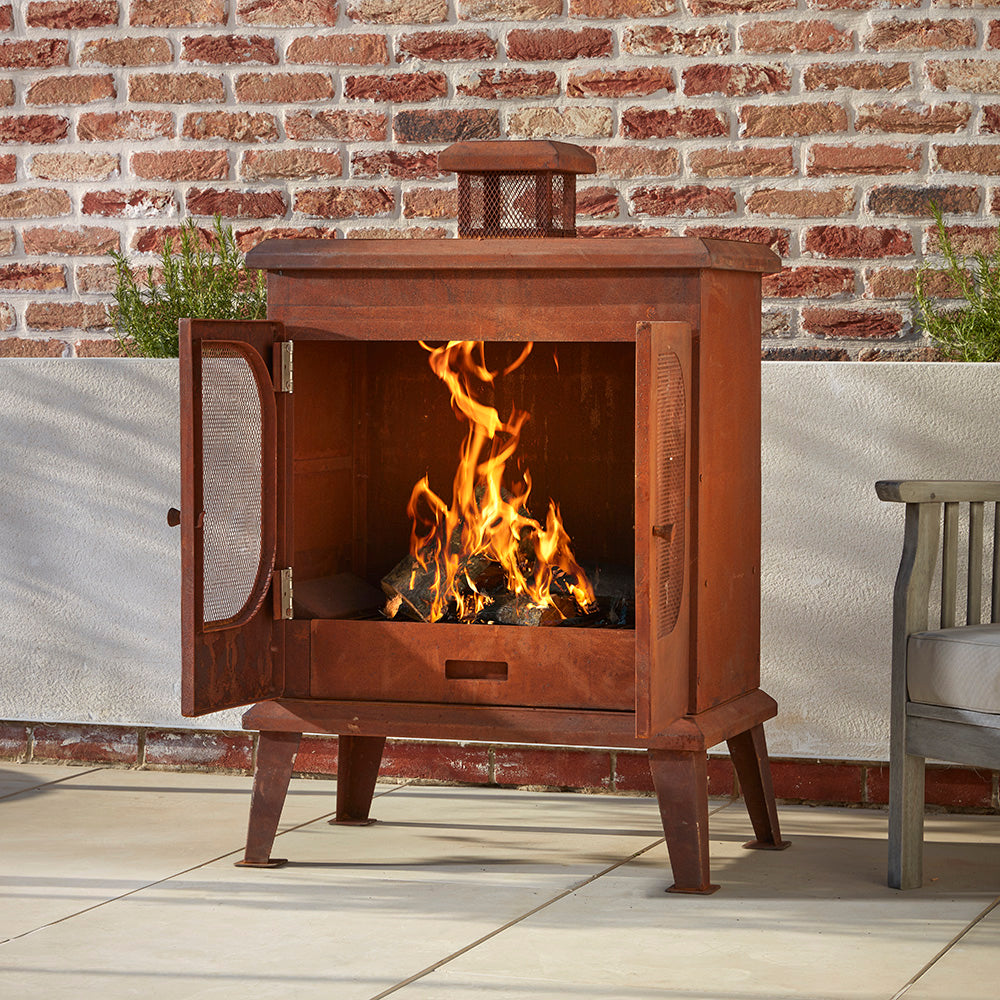
Large pots don’t just hold your planting — they shape the space around it. Use them to add structure, balance, and rhythm throughout the garden. Frame entrances with matching pairs for a welcoming sense of symmetry, or cluster three to five pots of varying heights to create layered interest on a terrace. A single statement pot beside your Repton Lounge Set can anchor a seating area beautifully, drawing the eye and softening hard lines. Along pathways, repeat pots at regular intervals for a gentle sense of order and flow.
Each container becomes part of the garden’s rhythm — living design pieces that evolve with the seasons and bring quiet joy year after year.
Explore Colour in the Garden
Once your pots are planted and ready to rest through winter, it’s the perfect time to think about the palette they’ll bring to life come spring. From soft pastels to vibrant contrasts, the colours you choose can transform the mood of your outdoor space — creating harmony, depth, and balance throughout the seasons.
Discover how to combine tones and textures beautifully in our Colour Theory in the Garden guide — and find inspiration for pairing your spring bulbs and planters with colours that bring balance and beauty to your space.
Read More on our Blog